
Building for 400whp (Engine Build Series Part 2)
Welcome to part 2 of our 400 horsepower blog series for the L15B7 found in the 10th generation Honda Civic. In part 1 we introduced to you the project of building our spare motor and gave you a sweet tear-down video to check out. Over the next few blogs, we will dive into greater detail on what parts were used and why. We will split part 2 and part 3 into the lower half and top half of the engine. Traditionally called the short block and the long block. Part 2 will look at everything from the deck of the block down. This includes the rods, pistons, crankshaft, etc. In part 3 we will focus on the cylinder head; valves, camshafts, valve springs, and more.
To keep things in order we will “build up”. So let's start at the oil pan and end this blog at the top of the engine block.

We are building the Everyman engine. This means that all the parts we will use are readily available. Nothing exotic, no custom hardcore billet craziness or high-end super alloy stuff. All parts that you can order online and have shipped to your door with ease and within a reasonable budget (for an engine build). You’ll learn that you won’t need much to build up a stronger engine, so let's go.

For our build these parts are kept OEM Honda (reused):
Engine block
Oil pan, baffle, and pick-up
Front cover
Rear main cover and seal
Crankshaft
Crankshaft pulley
Crankshaft and connecting rod bearings
Oil squirters
Oil pump
First, let's take a look at the oil pump gears. Some of you may not know that there is an aftermarket upgrade for our L15B7. Boundary Pumps offers an upgrade for the L15. They are constructed from Chromoly billet and are super strong. They go through a hardening process and are machined very well; a great product and something to consider. Now, why didn't we use them? The short answer is engine speed. The stock redline for this engine is 6500 rpm but with a stock turbo, we short-shift at 5500 rpm because the torque tanks after that. On a W1 and some tuning, we bumped up our redline to ~6900ish rpm since our bigger turbo can now carry power to the higher RPM. For this engine, we want to rev out to 7500 rpm max. This can be done with OEM oil pump gears so we stuck with OEM. Since our goal is 435whp and 7500 rpm we stick with stock. If you wanted to go north of 450whp or 8000 rpm we would suggest the upgraded gears. Now you could argue we could have played it safe and did the gear upgrade anyway but this was $500 we just did not feel had to be spent for an Everyman engine. If you feel otherwise, pick up a set.

Next up we move to the journal and rod bearings. Traditionally on my engine builds I always upgrade bearings for that extra bit of protection. They can take more cylinder pressure than the OEM ones and have special coatings on them for your first start which is super helpful. However, we went with OEM ones, why? Well because aftermarket ones don’t exist (at the time of build). We like getting ones from King Bearings but they did not have applications for our engine.
As mentioned earlier we kept all OEM timing components. We also kept OEM for all our gaskets and hardware as well. There is simply no need to get aftermarket timing chain guides and different rear main oil seals. OEM Honda is great quality and you won’t have any issues with those parts at this power level. You can in most cases reuse your OEM guides if they have low miles on them and show no signs of abnormal wear. We do suggest a new tensioner as that’s not something we like to reuse if we don’t have to. Most of the short block is glued together with Honda Bond so you only really need a new rear main. Never reuse a rear main seal. If that leaks it's a big job to replace when you could have just spent the $25 bucks.

Now for the bread and butter of the short block: the pistons and rods. This is where we see the biggest need for improvement. The pistons and rods see the majority of stress in this motor. As we crank up the boost and increase horsepower and torque demands we put a lot of stress on these parts. They are tasked with taking thousands of PSI of pressure and using that force to rotate our crank. The OEM pistons are very thin on the small bore end and this is a common place for a break when power is turned up. You can see just how thin it gets here in the image and why we want to add strength. Tons of heat and pressure get laid on top of the pistons and the material used is not up to the task for these higher-power targets. If it gets too hot in the combustion chamber then you can burn a hole right through them. An upgrade here is a must.
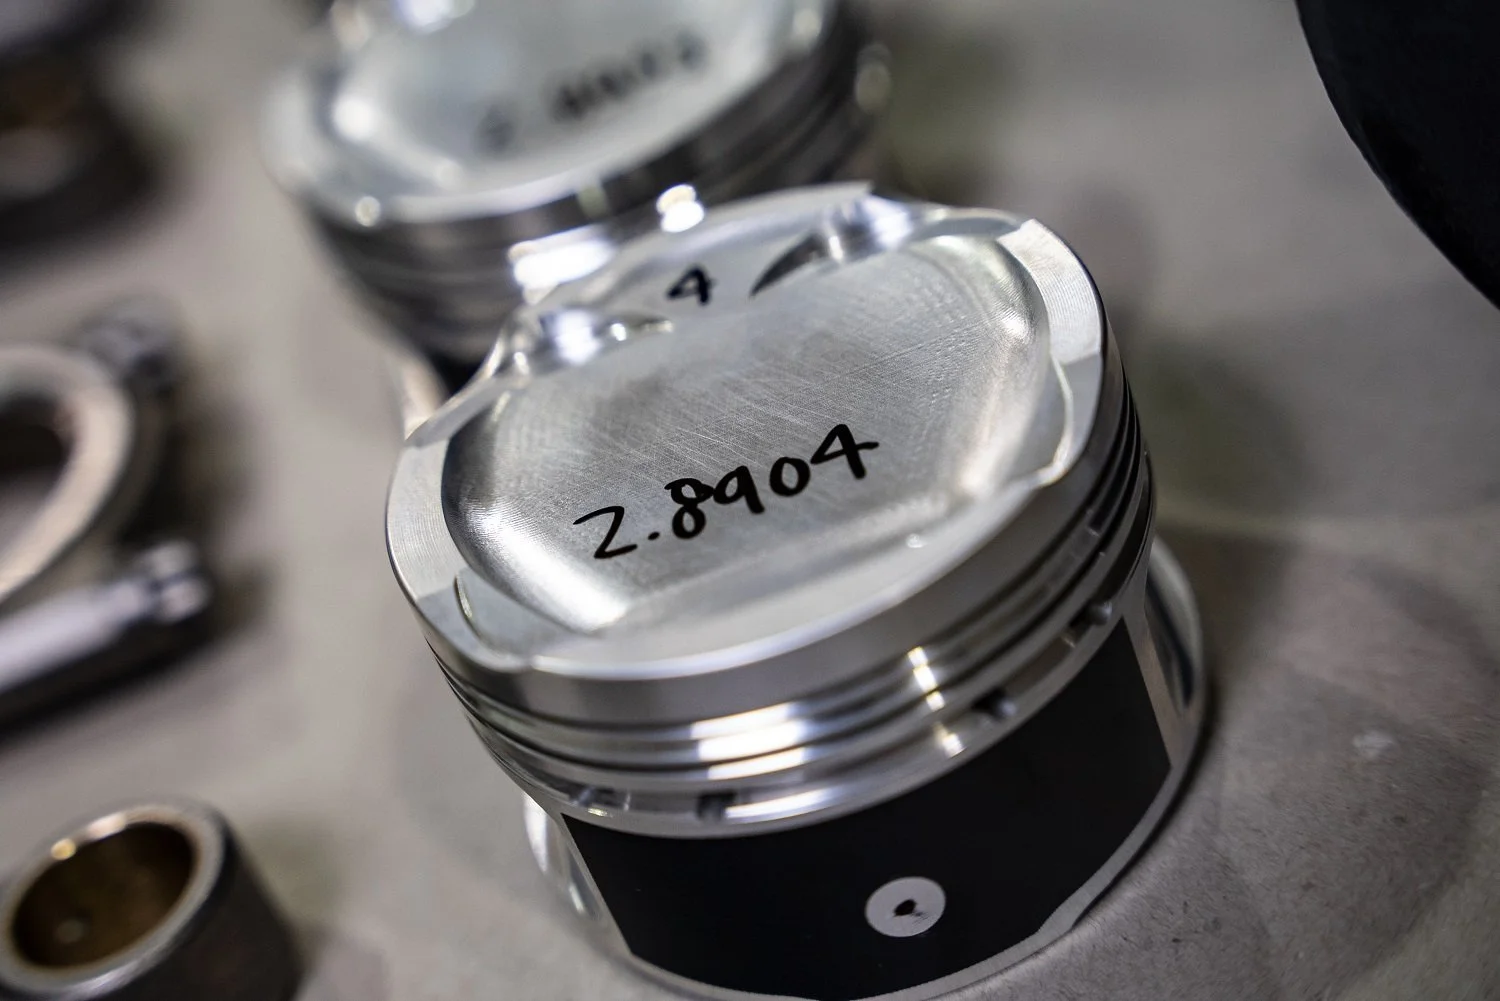
For pistons, we turned to JE and used part #357430. You might notice that part number is for a 73.5mm bore which is 0.5mm overbore. Unless we are building with a new OEM block or with an engine that has aftermarket sleeves pressed in we do not run OEM bore size. This is because after machining our cylinder-to-wall clearance will be too loose and we would give up power. We want to keep those tolerances nice and tight so we don’t have too much blowby. This piston material is 2618 which is a low silicon, high expansion alloy. Even with its higher expansion ratio compared to that of 4032 alloy we still keep tolerances pretty snug thanks to some high-end machining from our local machine shop. They have all the latest equipment to dial in our specs.

For rods, we turned to Brian Crower and used BC6007 rods. These are made of strong 4340 Chromoly steel and come with a much thicker profile. These will be able to handle the increased torque loads without breaking. You can see in the picture just how much thicker they are compared to the OEM piston. From the small bore end to the big bore end it is wider and carries a unique H beam design that allows us to run more boost. This comes equipped with ARP 2000 bolt hardware which is plenty for our 400+ goal. You can opt to get these rods with a custom age 625 rod bolt (stronger fastener) but again that was overkill for our build. These will work just fine for us.
This combo of pistons and rods will be more than enough for our 400+ whp goal as these parts are rated for over 500 whp. The next blog will dive into the cylinder head and talk about what we did there to add some strength. Stay tuned as we build for boost.
Co-Founder
-Vincent